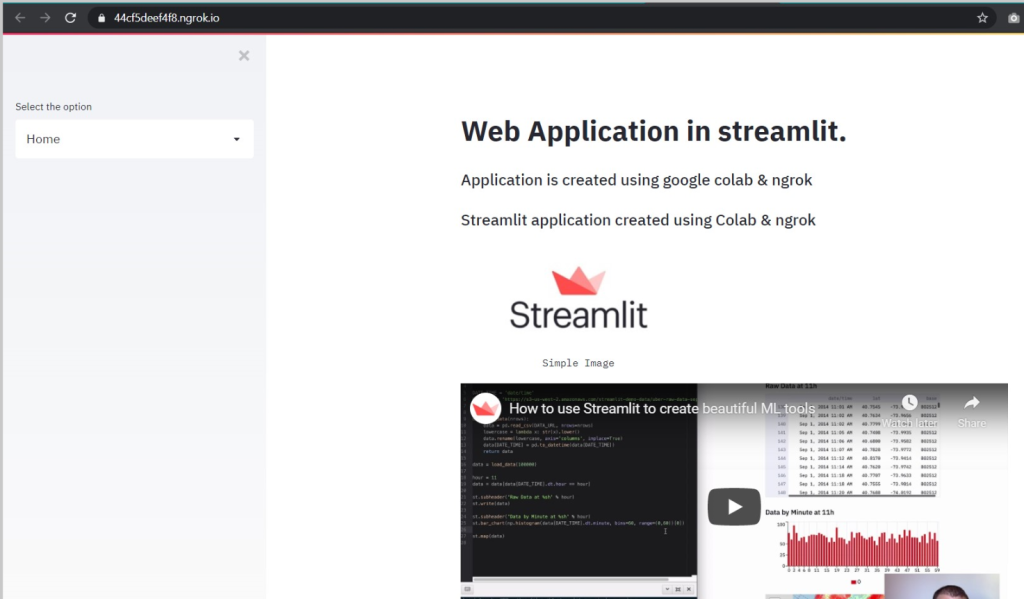
Deploy Web app in ngrok
Prerequisite:
- Ngrok account need to be created. Refer the url https://ngrok.com/
- Google Colaboratory account should also be available. Refer the url https://colab.research.google.com/
Packages:
- streamlit – pip install streamlit
- pyngrok – pip install pyngrok
Notes
- use %%writefile filename to write data in to the cell.
- !ngrok in the cell – displays the options available in ngrok
- !ngrok authtoken yourtoken from the section 2.Connect your account @https://dashboard.ngrok.com/get-started/setup – Setup & Installation.
- https://dashboard.ngrok.com/auth/your-authtoken – Displays the token value.
Trouble shoot
- Issue1: PyngrokNgrokHTTPError: ngrok client exception, API returned 502: {"error_code":103,"status_code":502,"msg":"failed to start tunnel","details":{"err":"Your account may not run more than 4 tunnels over a single ngrok client session –Solution: !kill processid of the app. Eg:- !kill 1234
- Tip: To check the tunnels running for your account in ngrok –Solution: https://dashboard.ngrok.com/status/tunnels
Notes
- If you would like to modify the content of the script then modify the script and re-run the cell so that latest contents will be available and go to the url and check that.
Alternatives for deploying the streamlit App
- Heroku
- AWS
- GCP
Alternatives to Streamlit Package
- Jupyter-dash
- bokeh
- plotify
Notebook
- Refer the notebook available in github https://github.com/SurendraRedd/Bestpractises/blob/master/Webapp.ipynb